

Set up NMI
Connect NMI to your Bolt merchant account.
Connect NMI to Bolt so Bolt can authorize and capture payments through your NMI account.
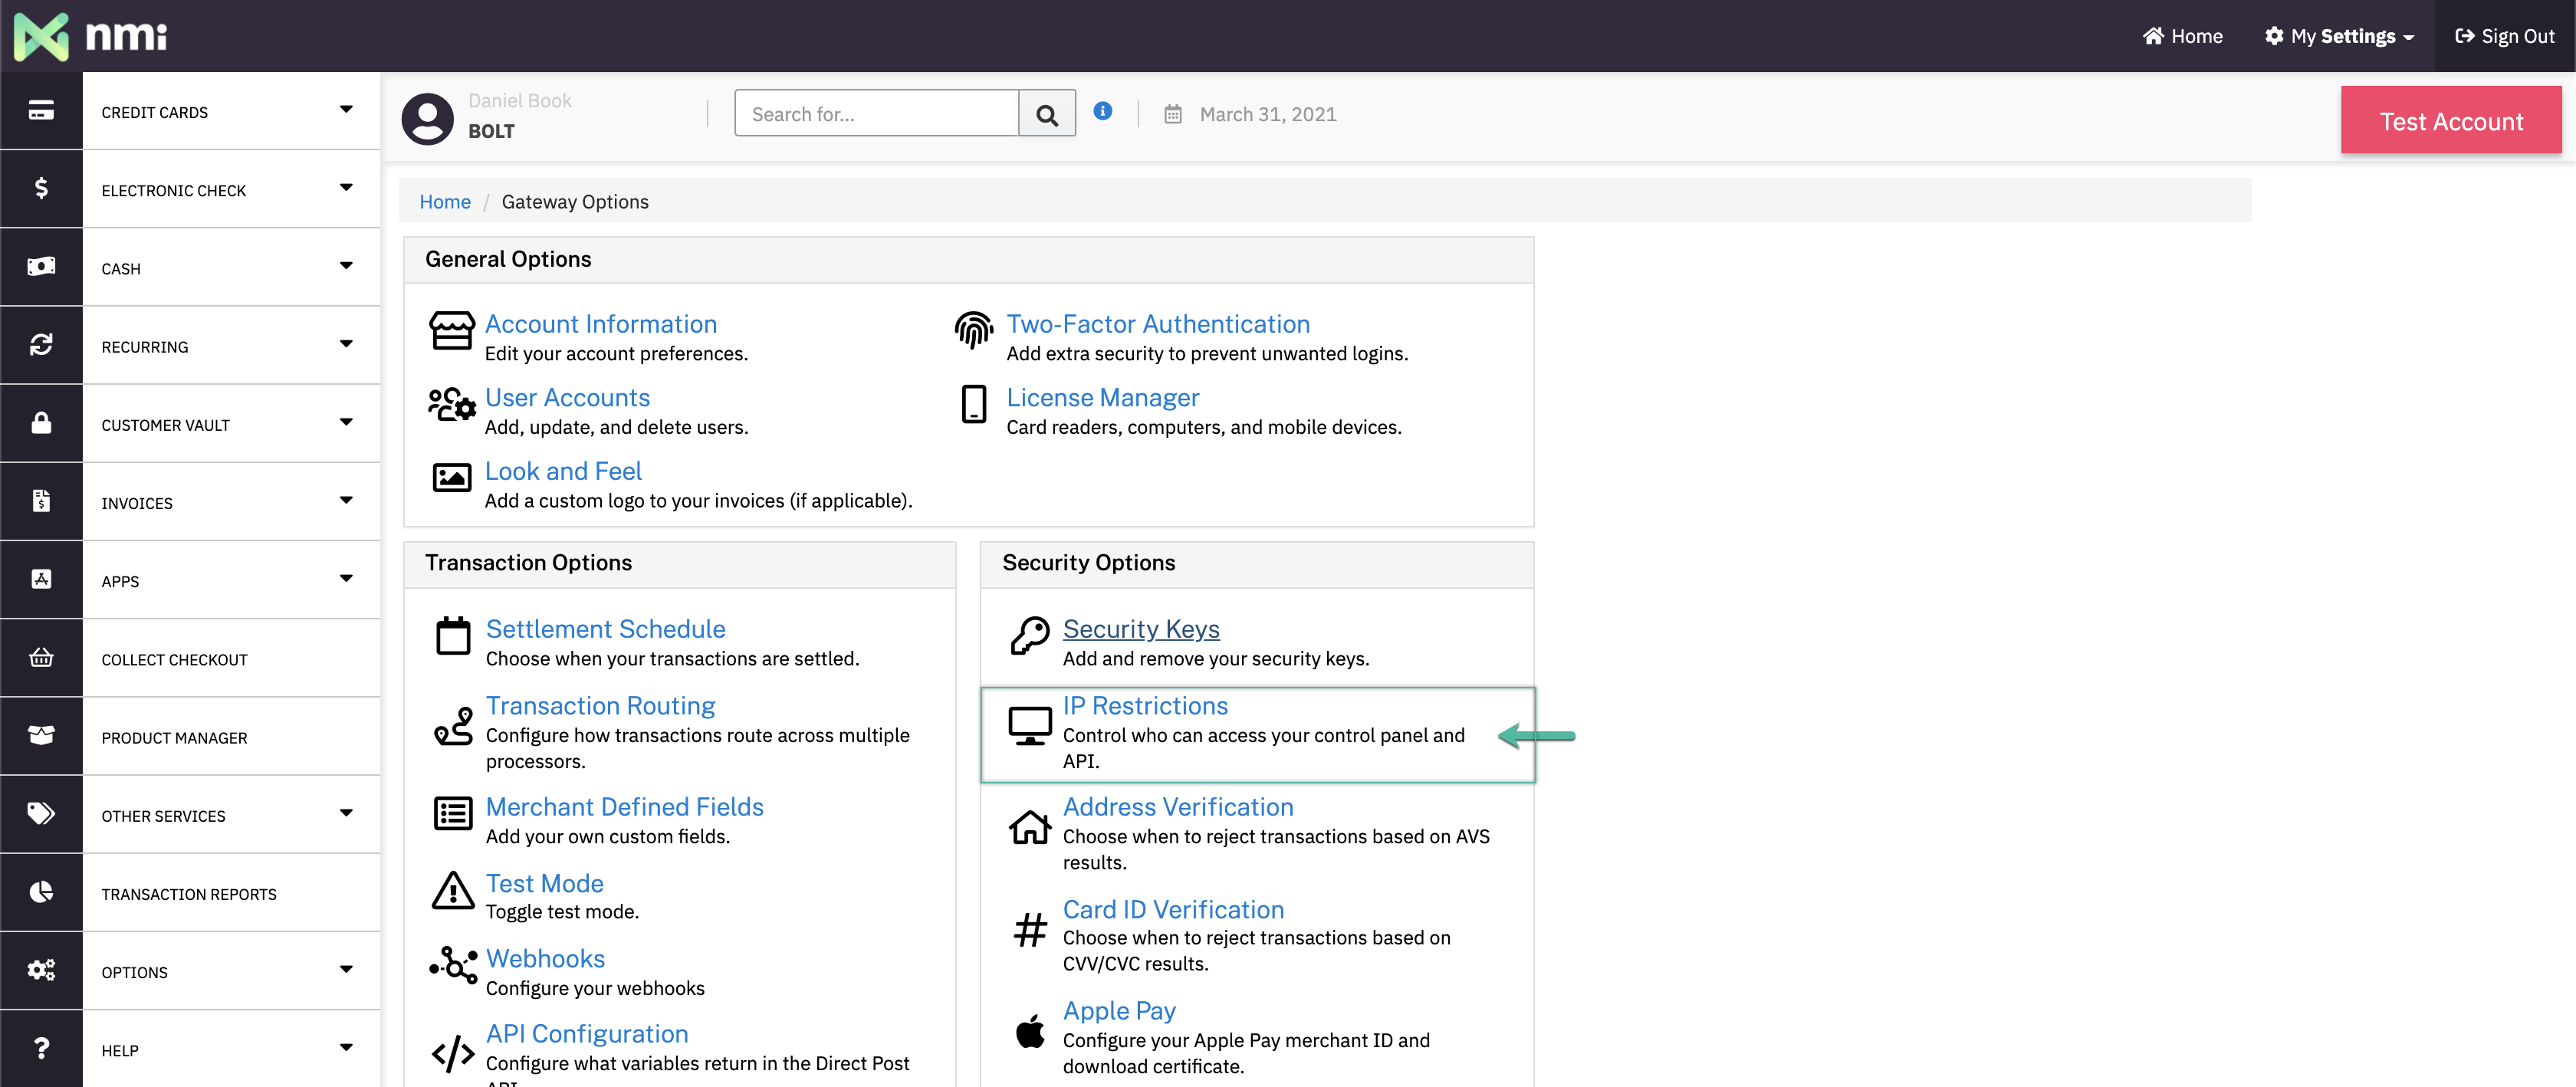
Step 1: Allowlist Bolt and merchant IPs
If IP blocklists are enabled, allow:
13.57.173.9318.236.33.23034.209.104.17752.36.152.15012.2.150.168/2912.249.26.128/3050.18.19.8
Also add your office IP addresses.
Step 2: Obtain NMI keys
- Log into your NMI merchant account.
- Go to My Settings > Security Keys > Add a New Private Key.
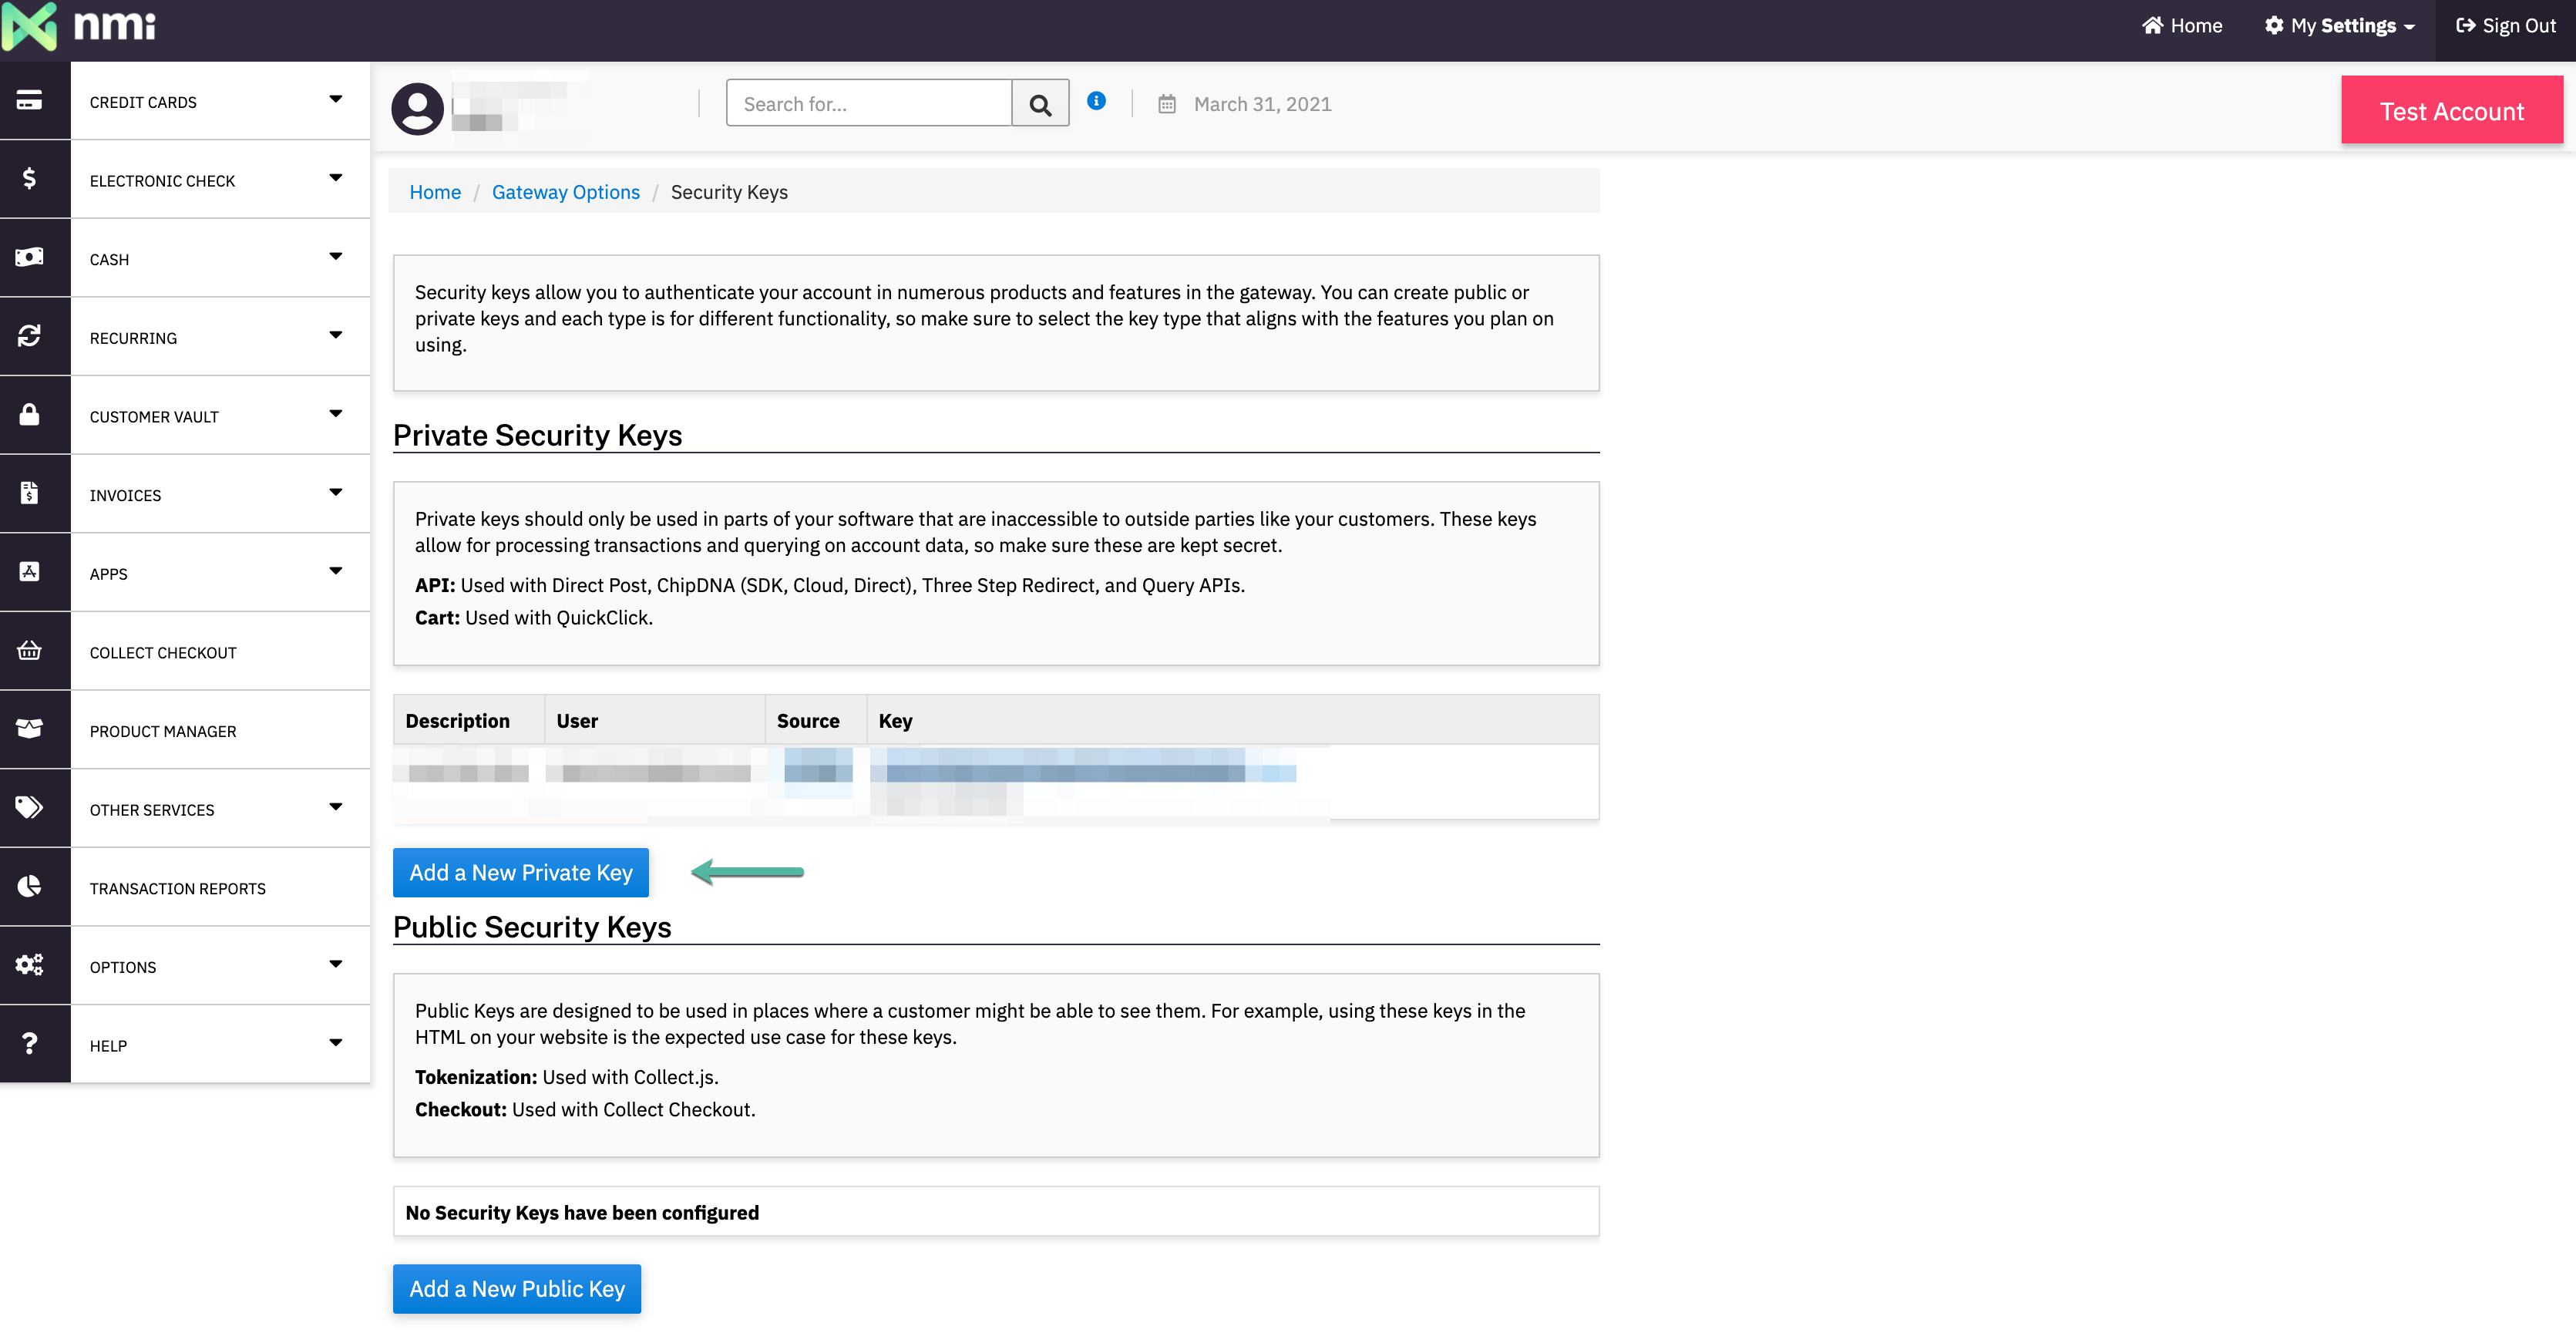
- Click generate a new API key.
- Click view.
- Copy the 32-character API key.
Step 3: Add keys and edit payment settings
- Log into the Bolt Merchant Dashboard.
- Go to Settings > Payments.
- Click Set Up NMI.
- Add your private NMI key.
- Click Next.
- Edit payment settings, then click Complete Setup.
Expected result: NMI appears as your active processor under Settings > Payments.
Step 4: Configure NMI webhook
Webhooks keep Bolt and NMI in sync for chargebacks.
- Log into your NMI merchant account.
- Go to Webhooks and click Create.
- From the Bolt Merchant Dashboard:
- URL: Settings > Payments > Manage NMI (copy the Bolt webhook URL)
- Public ID: Developers > Public ID (replace
<public-id>in the URL)
- Enable chargeback.batch.complete.
- Save and copy the webhook signing key.
- In the Bolt Merchant Dashboard, go to Settings > Payments > Manage NMI and add the NMI Signing Key.
Step 5: Configure NMI risk settings
For saved cards, Bolt does not transmit CVV match data. Use NMI's CVV settings to allow transactions without CVV matches.
With Fraud Protection
Use NMI's AVS settings to allow shipping and billing address mismatches.
Without Fraud Protection
Tell your fraud provider that payments through this processor will not include CVV match information.
Step 6: Set up chargeback notifications
Configure NMI communication preferences for digital chargeback notifications.
Chargeback handling
- With Fraud Protection: NMI supports manual dispute submissions.
- Without Fraud Protection: Follow NMI's chargebacks process.