

Connect Shopify to Bolt
Create a Shopify custom app and connect your store in the Merchant Dashboard so Checkout Everywhere can read your catalog and create orders.
Checkout Everywhere connects to your Shopify store through a custom app that you create and install yourself. The app's credentials let Bolt read your products and discounts and create orders for checkout links and storefront Bolt buttons.
Before you start
- Sign up through the onboarding form if you do not have a Bolt merchant account. See Create a merchant account.
- Confirm you can create custom apps in your Shopify admin. Shopify Partners may also need to complete the optional distribution steps below.
Step 1: Create app in Shopify
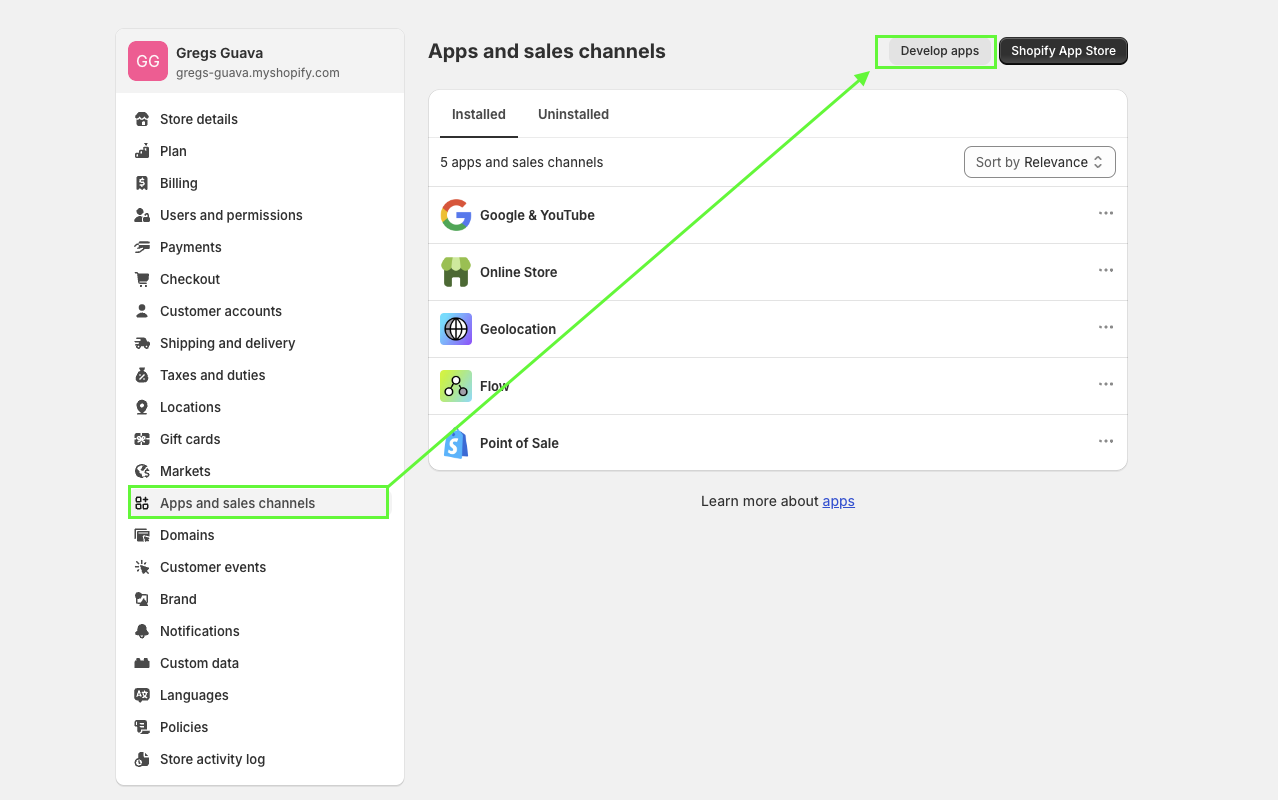
- In Shopify, go to Apps.
- Select Develop apps.
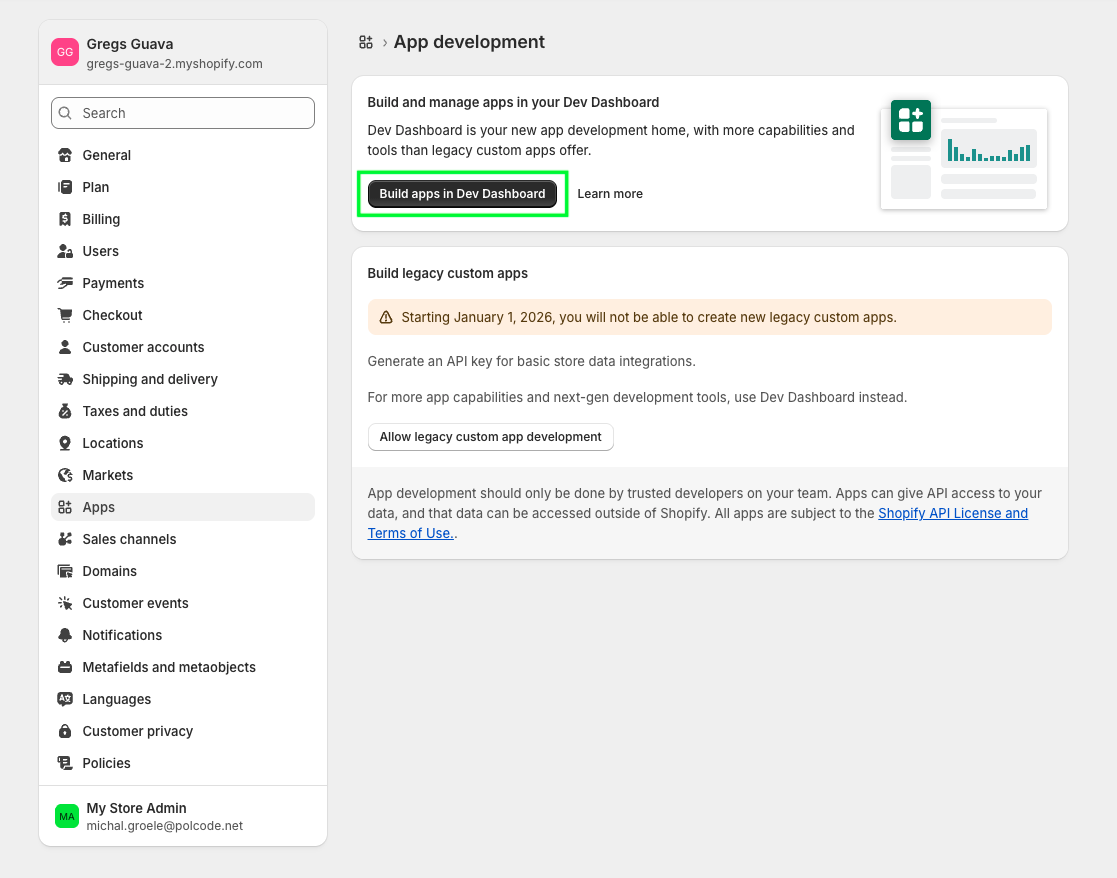
- Select Build apps in Dev Dashboard.
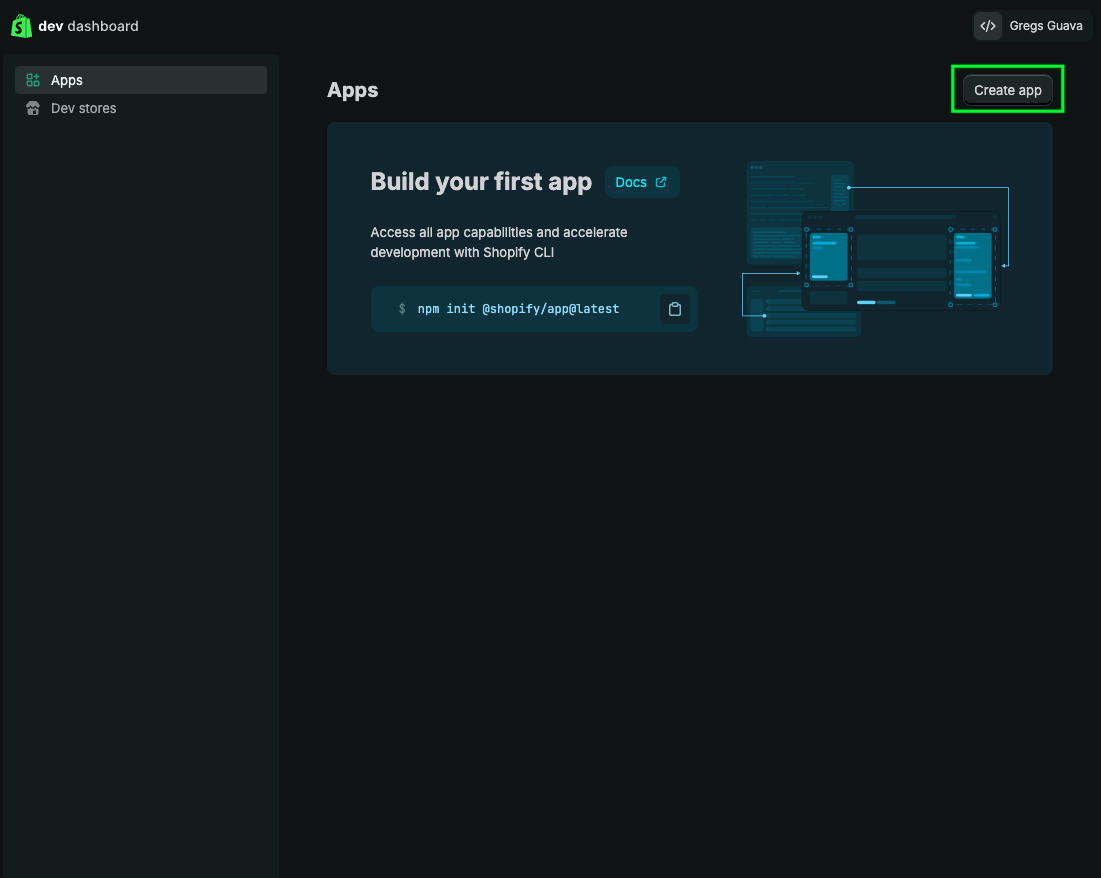
- In the Shopify Developer Dashboard, select Create app.
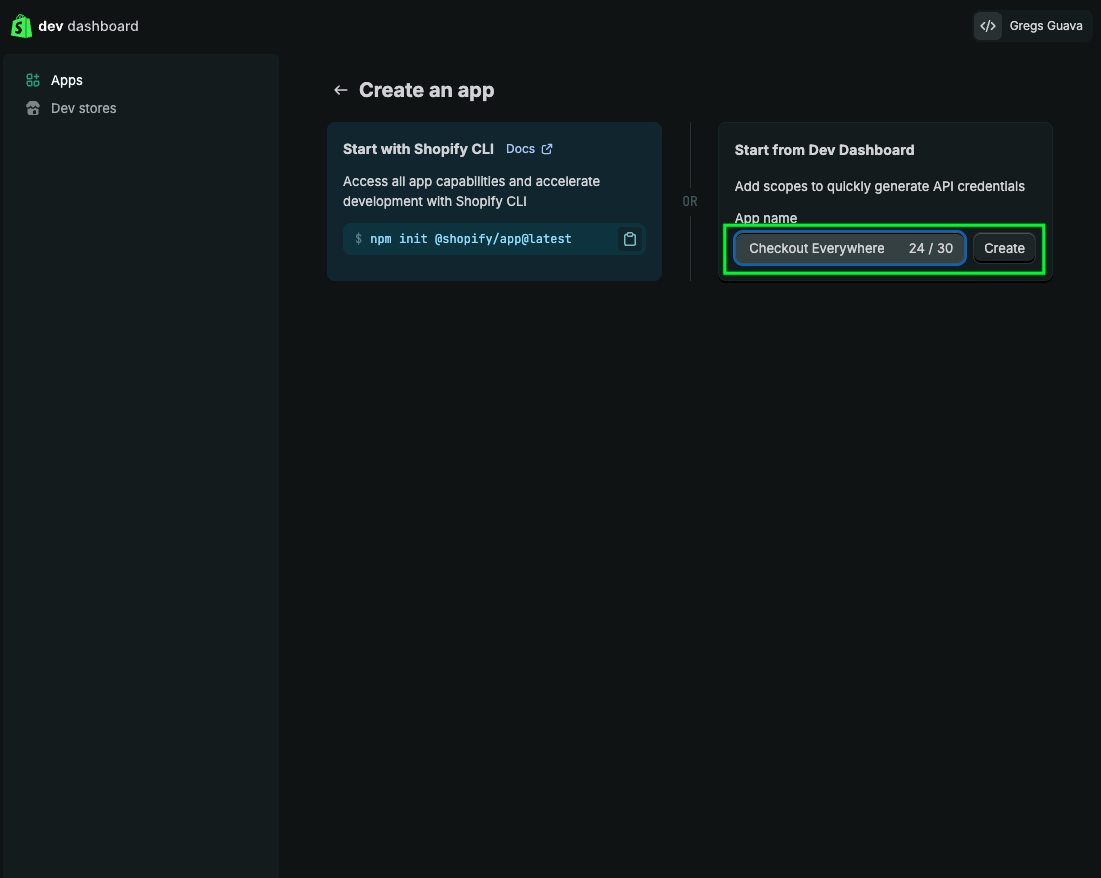
- Enter an app name and select Create.
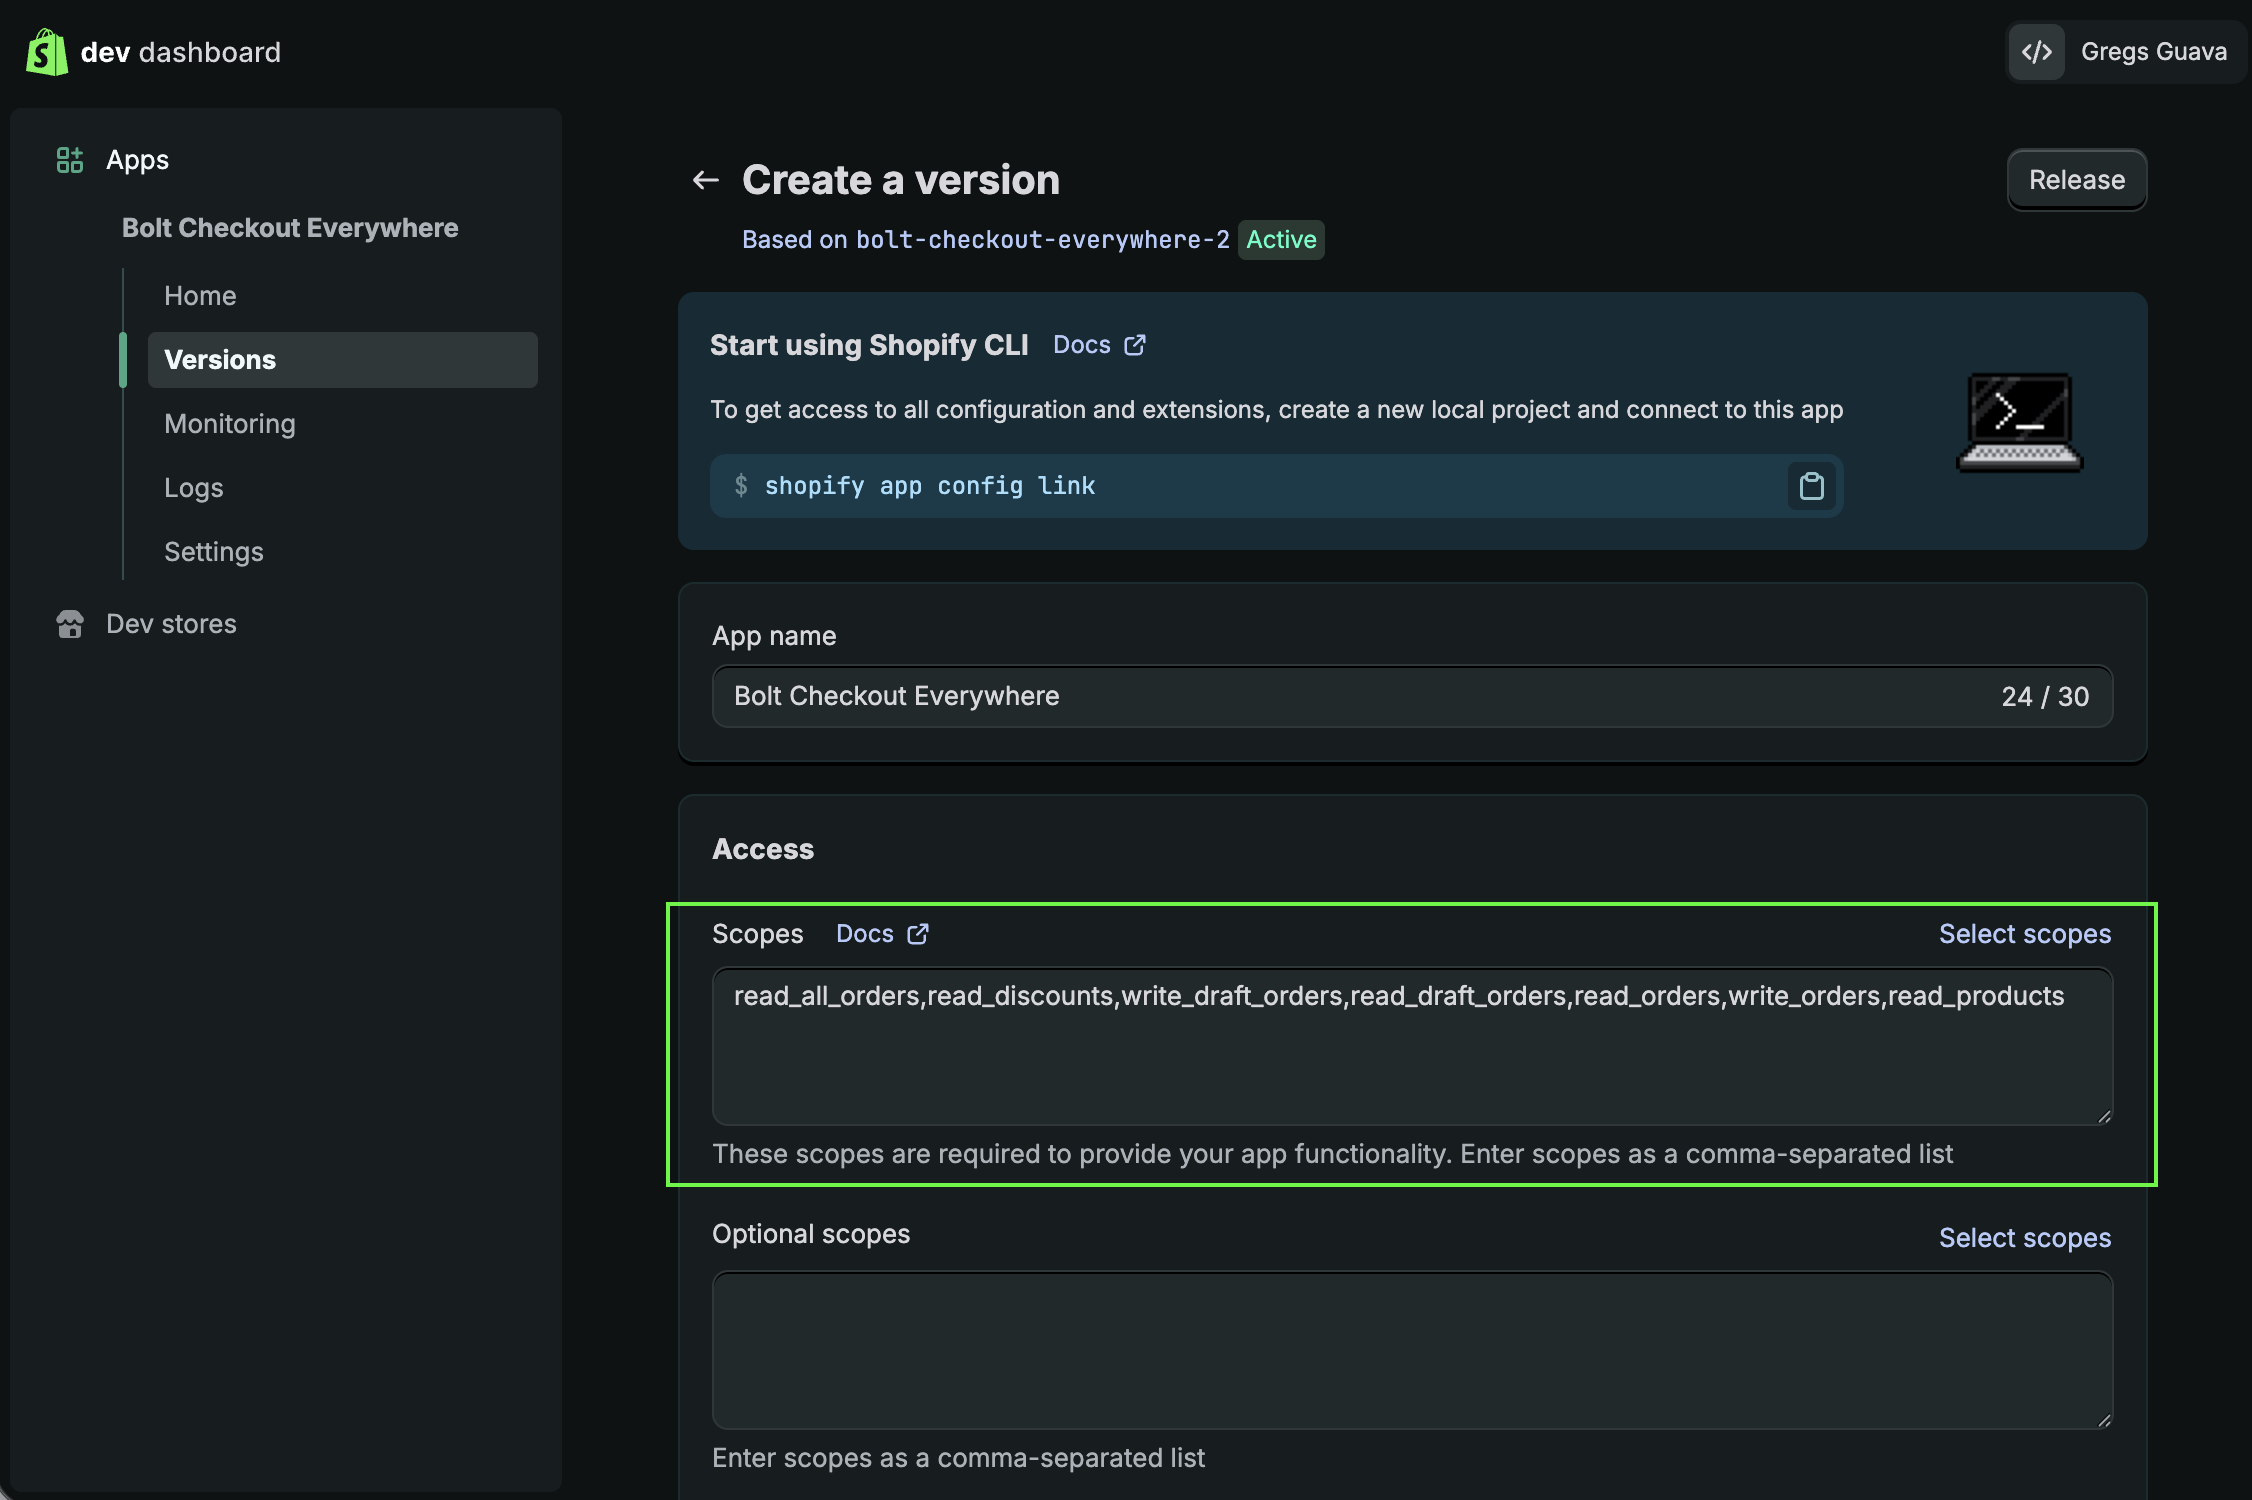
- Open the Versions tab of the new app and scroll to Access.
- Search the scopes for draft orders, orders, products, and discounts, and grant this access:
- Read and write access for draft orders
- Read and write access for orders
- Read access for products
- Read access for discounts
- Read access for all orders. Shopify Partners may need to select Request access and complete the request form.
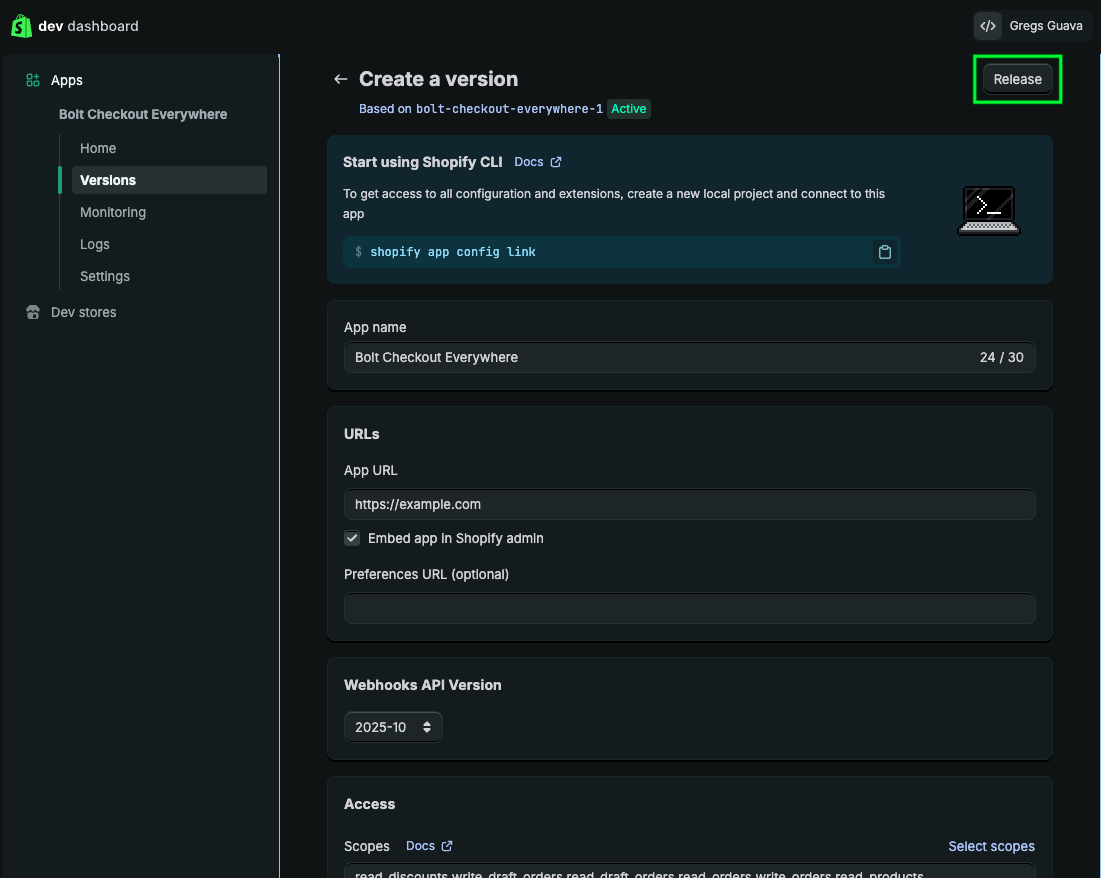
- Select Release in the top right corner.
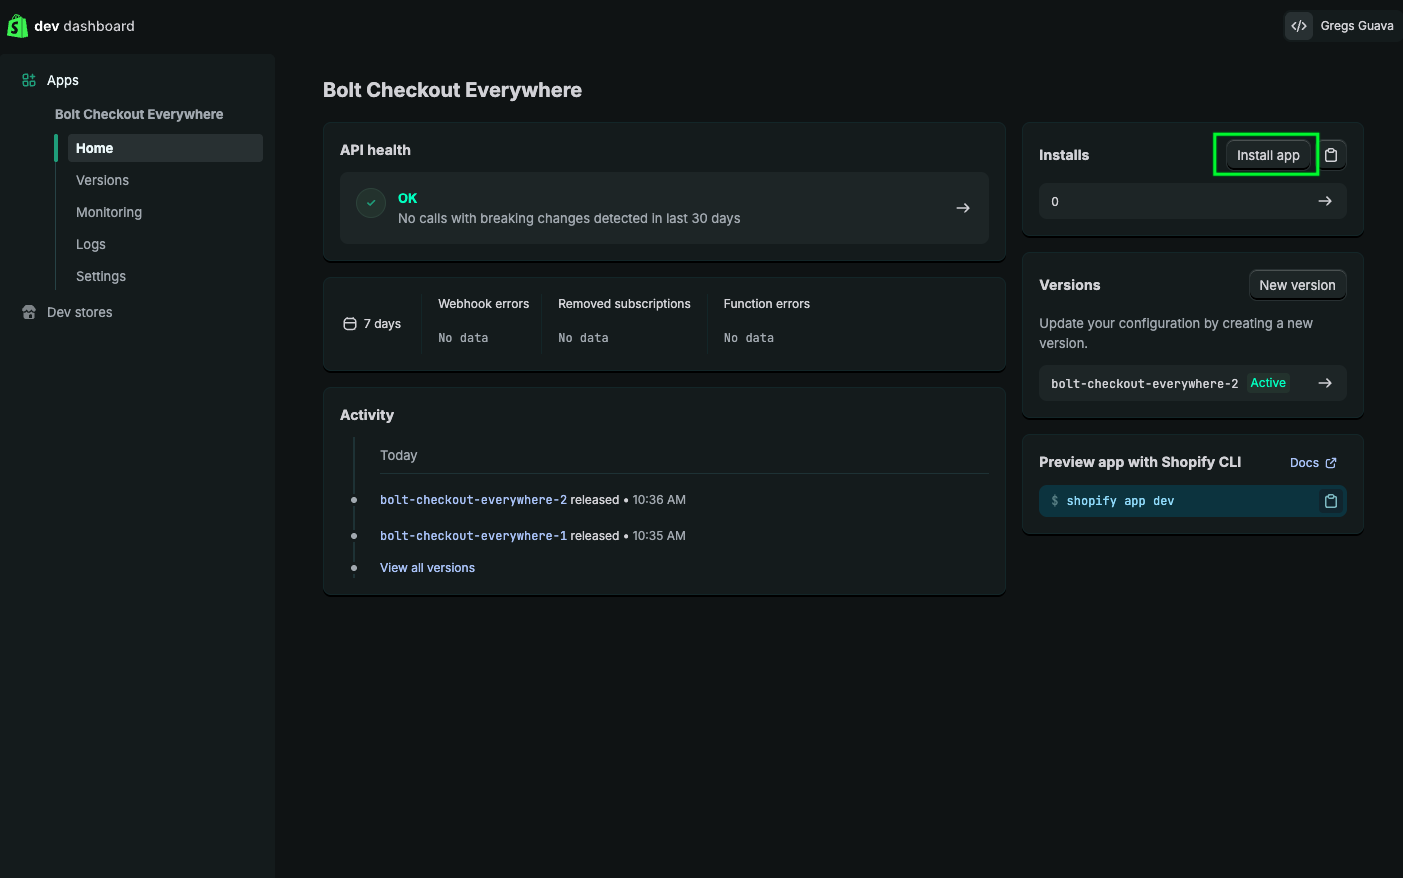
- Open the app's Home tab and select Install app.
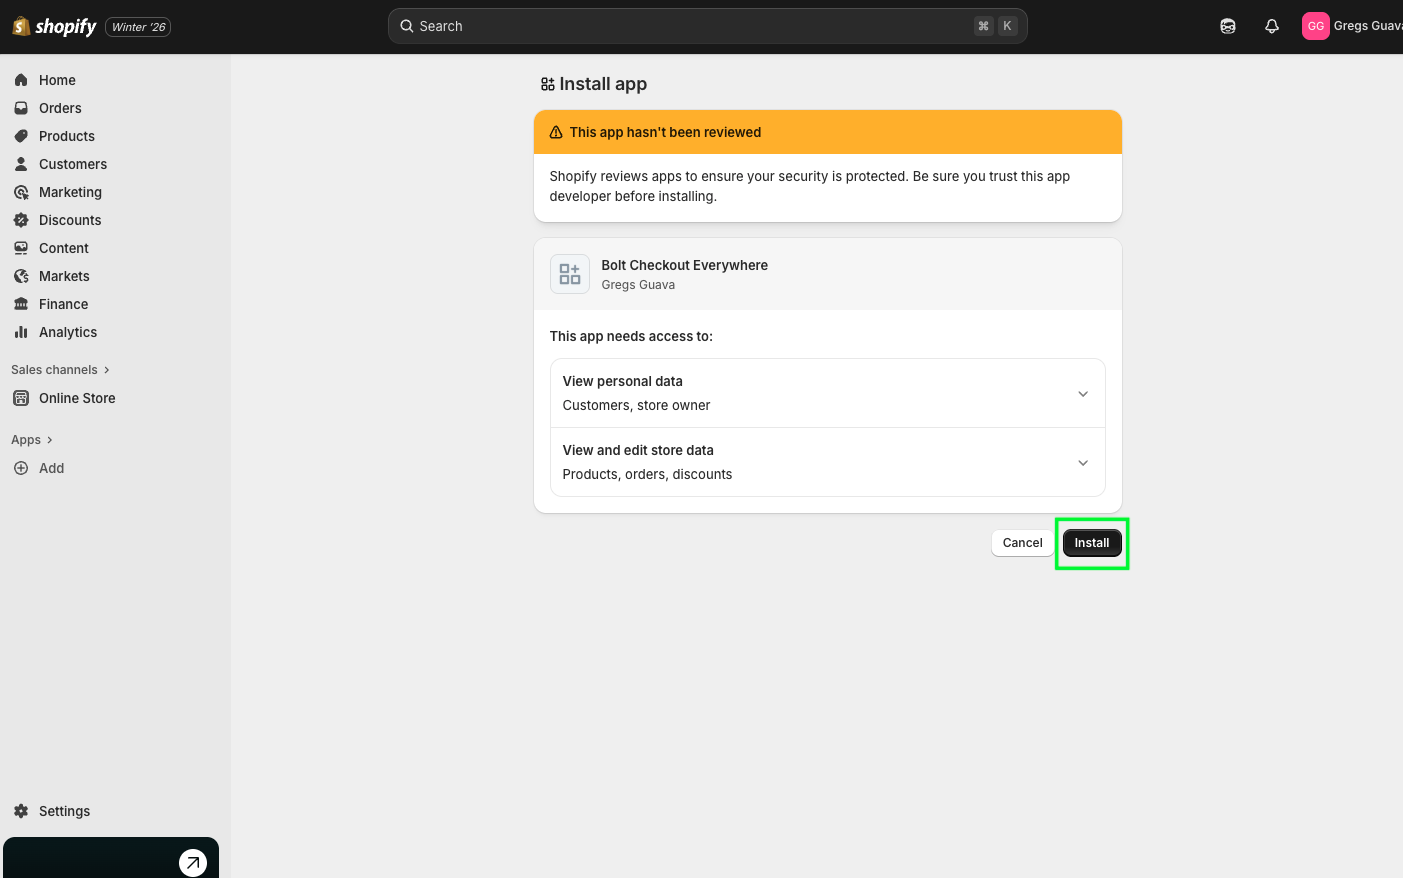
- Back in your Shopify store admin, select Install to add the app to your store.
- Return to the Shopify Developer Dashboard, open the app's Settings tab, and reveal the secret. Copy the Client ID and the Client Secret, which begins with
shpss_. You need both in Step 2.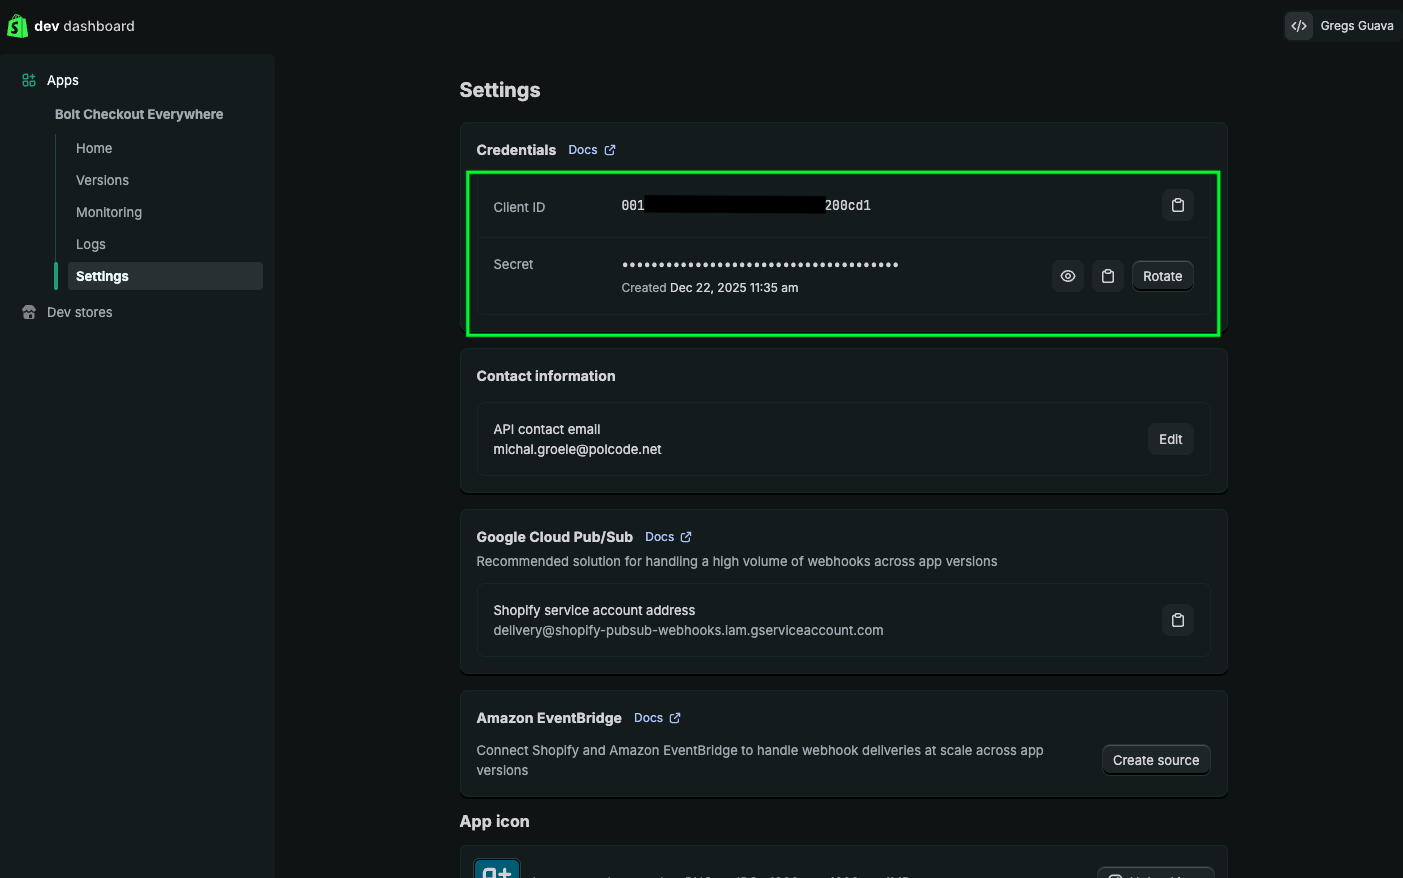
Expected result: The app is installed on your store, and you have its Client ID and Client Secret.
Optional steps for Shopify Partners
If you are a Shopify Partner, limit the app's distribution to your store. Without this, the access scopes may not take effect.
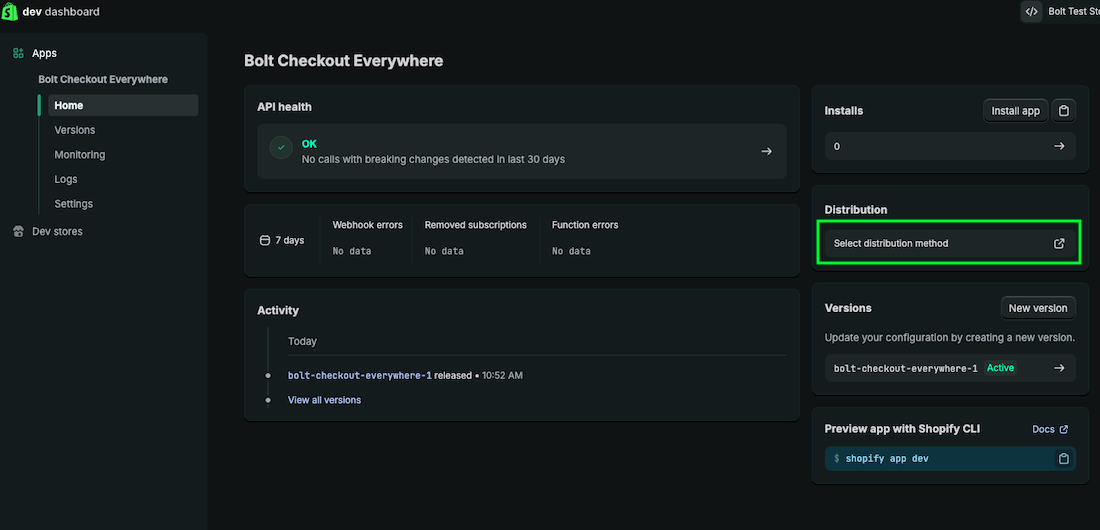
- On the app's Home tab, select Select distribution method.
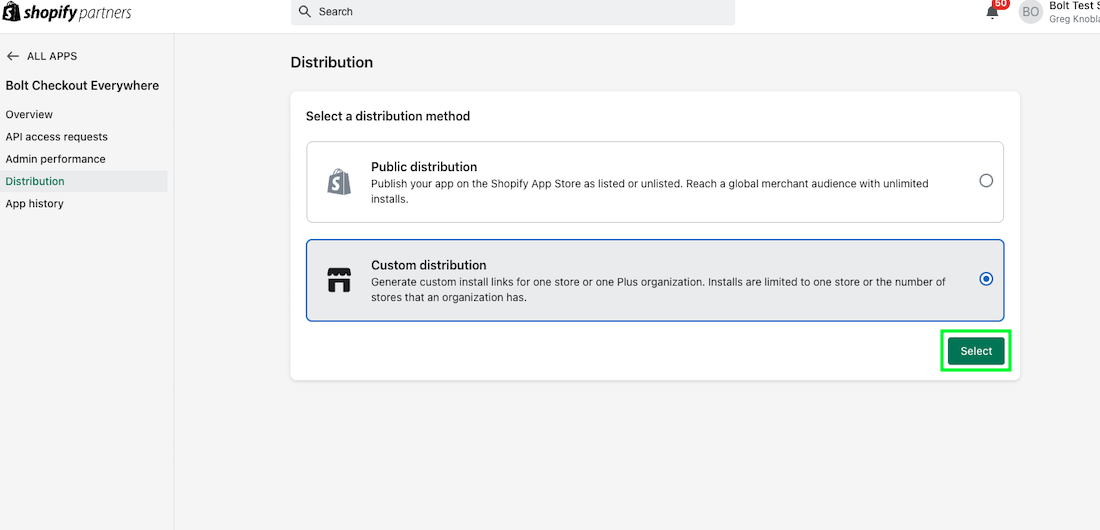
- Select Custom distribution, then Select.
- Enter your store domain, such as
mystore.com, and select Generate link.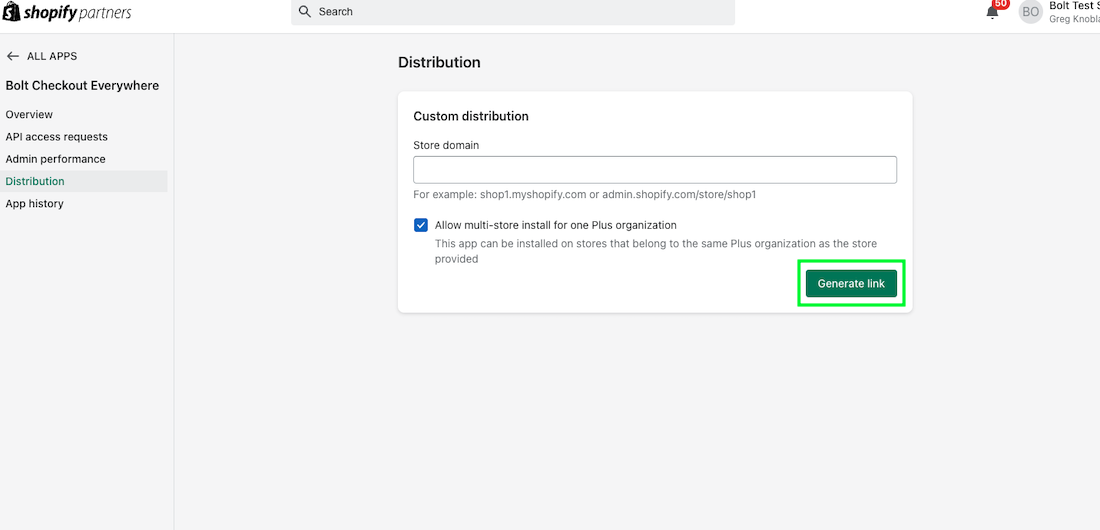
Step 2: Fill Shopify information in Bolt Merchant Dashboard
- In the Merchant Dashboard, go to Integrations and select Shopify.
- Enter your store URL, the Client ID, and the Client Secret from the app you created.
- Select Connect Shopify.
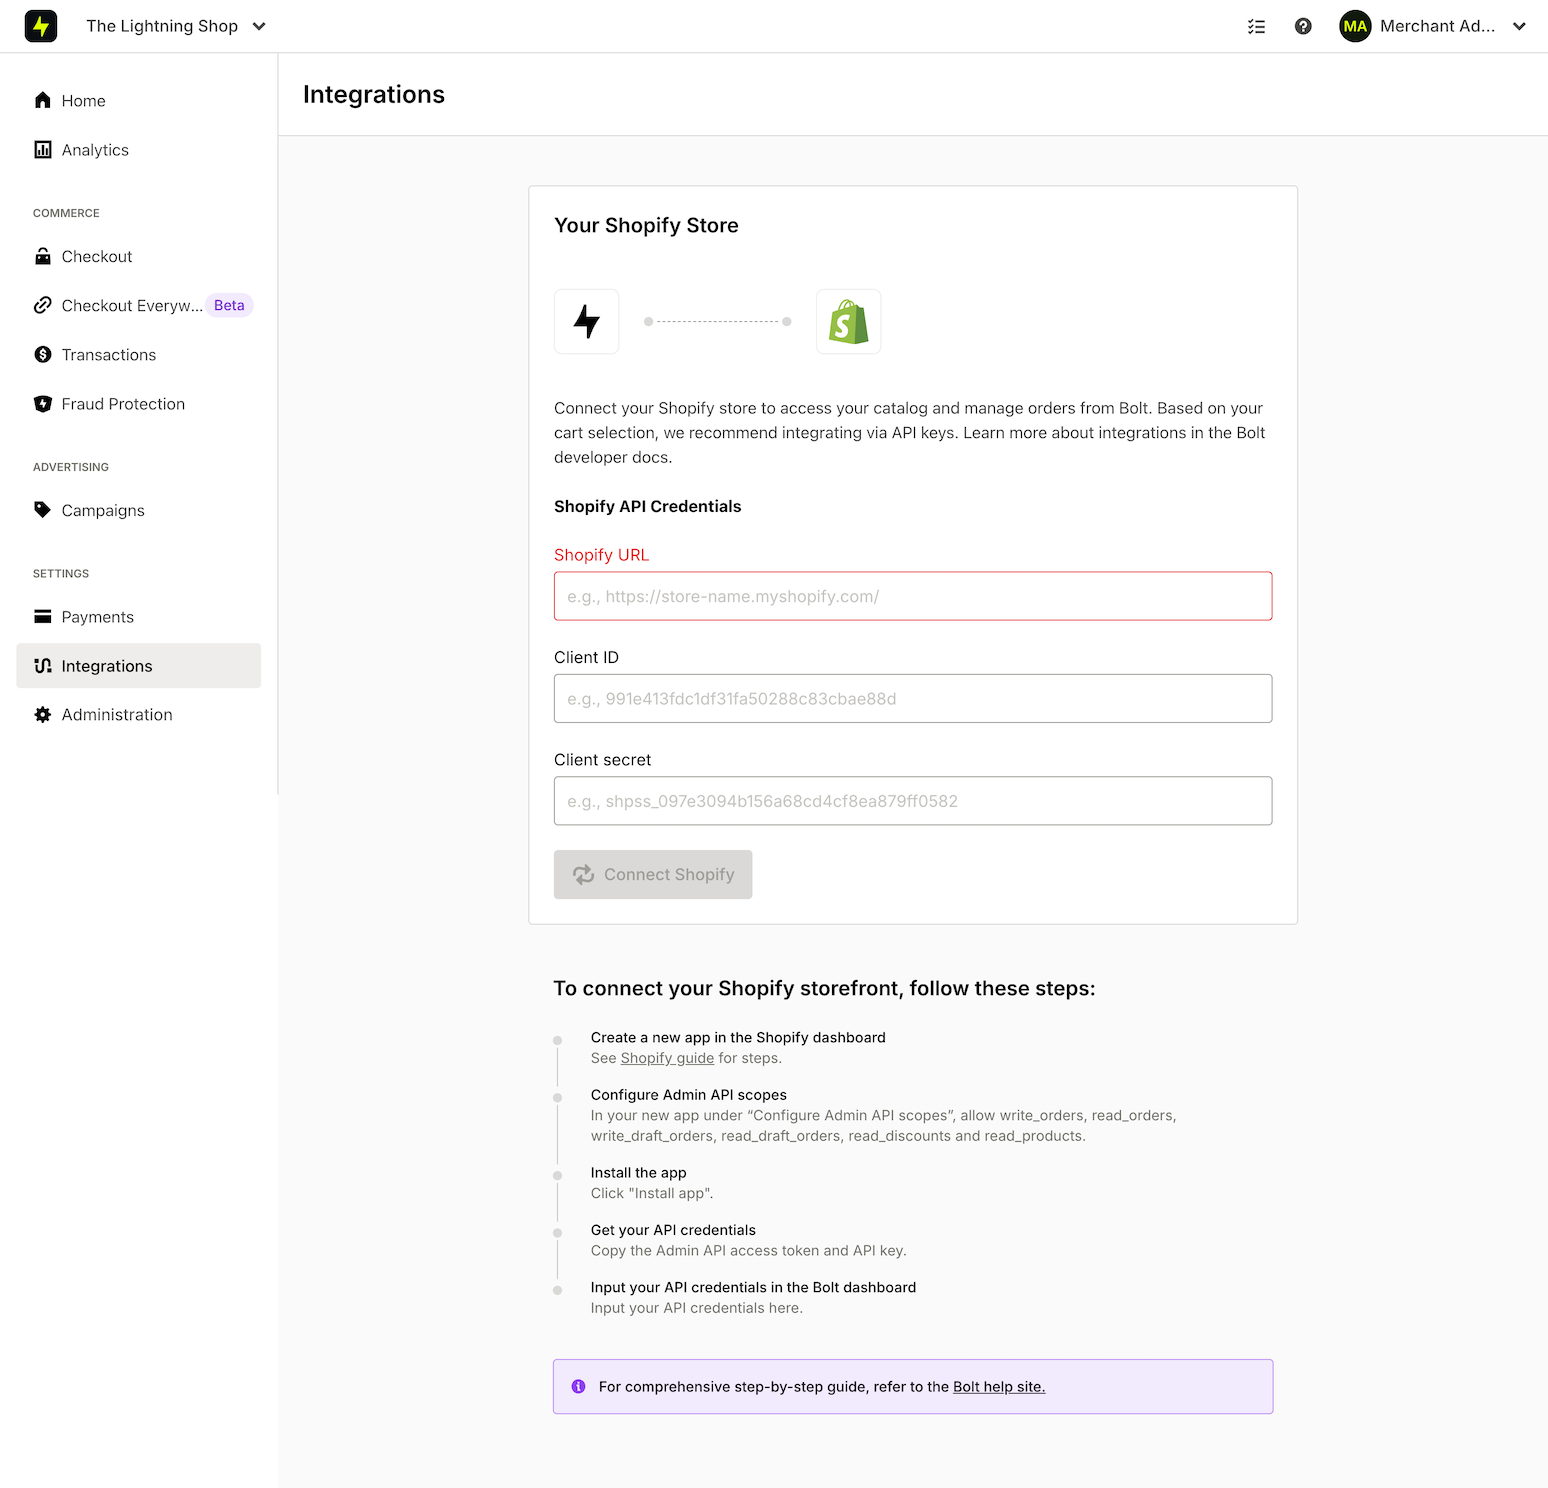
Expected result: Your product catalog count increases as the store connects.
Step 3: Set up payment processor
If you already use Bolt Checkout, Bolt Accounts, or Embeddable Checkout, skip this step. Otherwise, follow Payment processors to connect yours.
Step 4: Configure your checkout
If you already use Bolt Checkout, Bolt Accounts, or Embeddable Checkout, skip this step. Otherwise:
- Enter store and support information.
- Add your store logo.
- Review the other checkout settings.
Step 5: Create your checkout links
Follow Create checkout links to start selling with Checkout Everywhere. To offer Bolt checkout from your storefront as well, continue to Add Bolt buttons to your Shopify theme.